Install Debian as a server
This is the first post in my series about setting up Samba AD and FreeRADIUS on Debian.
Next step: Setting up Samba AD DC on Debian
Getting started
To start you will need a internet connection and somewhere to install Debian. Debian can be installed in a virtual machine or it can be run on physical hardware.
Step 1: Get Debian
Visit debian.org and click Download. This will Download the ISO file for the installer so that we can get started installing Debian. If you are going to install Debian on physical hardware you will need to write the ISO to physical hardware with software such as Rufus. After you download Debian you will need to boot to the installer.
Step 2: Start the installer
Once you boot up the install select “Graphical install” to get started. You should end up on a page like this one:
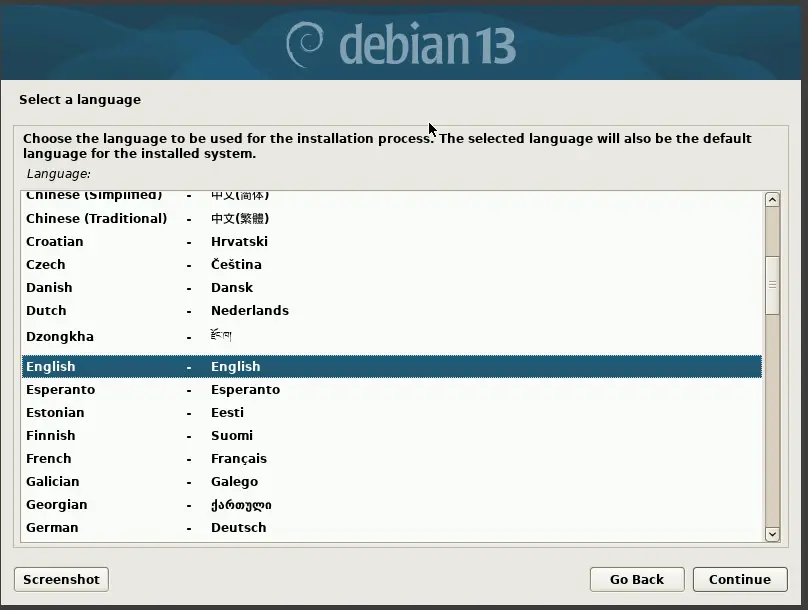
Step 3: Regional configuration
Most of the defaults are completely fine so you can continue to hit continue. However, you will want to set a meaningful hostname. For the domain name it is likely best to leave it blank but you can configure it as needed.
Step 4: User configuration
After the hostname is set you will get to the root user configuration step:
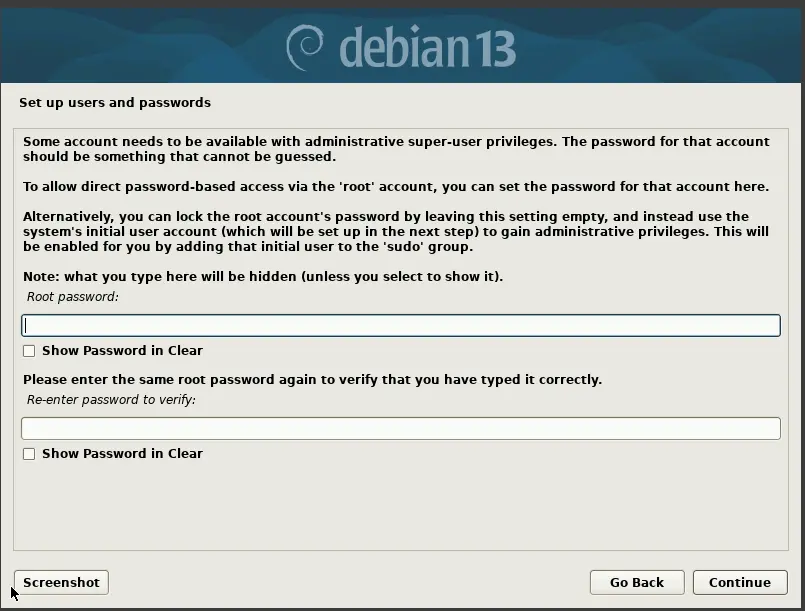
For security, we will be disabling the root user in a later step. You can set this to anything memorable such as root123 since the password will be cleared on disable.
The next step is creating a user. You will want to thoughtfully choose a username and password since this will be your main login. I would recommend setting the username and full name of the user to the same value.
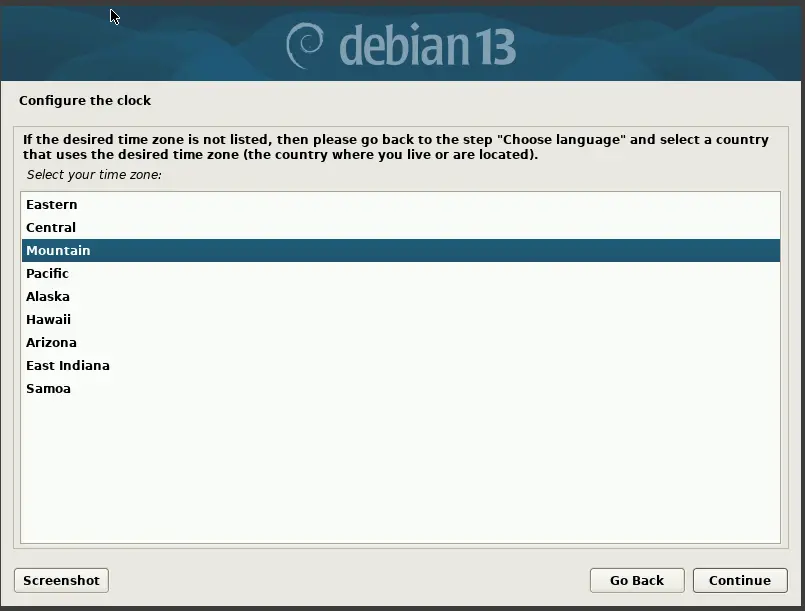
Step 5: Time zone
Make sure you set the correct time zone
Step 6: Partitioning
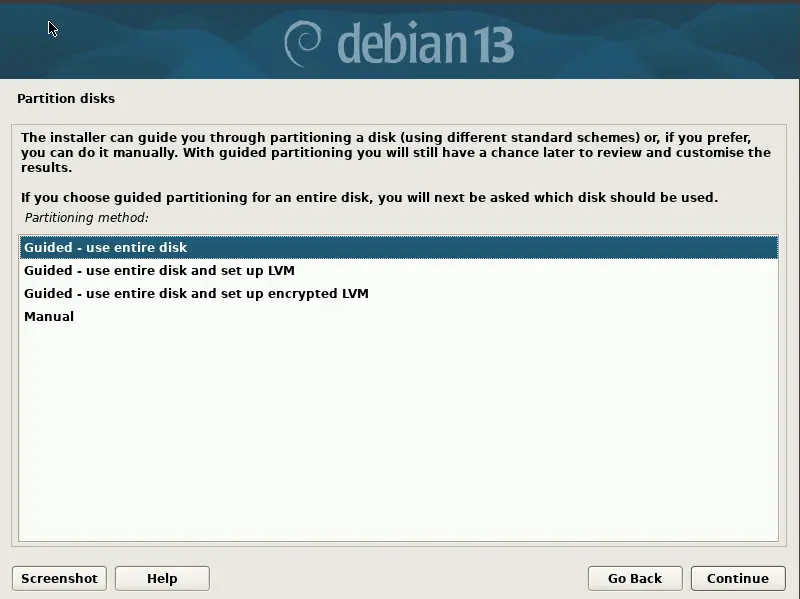
I would recommend using the default option of “use entire disk” along with “All files in one partition.” While it is possible to do more complex partition layouts I strongly recommend sticking with a single partition since it make everything simpler. Do make sure you select the correct drive if you have multiple disks plugged in.
The final step if partitioning is to select yes when it asks if you want to write changes. This will destroy any data on the target drive so be careful
Step 7: Wait for the base install to finish
You now wait for the base system to install
Step 8: Skip additional media and others
back in the day it wasn’t uncommon to install additional software from a DVD. This is no longer standard practice and can be skipped. Likewise you can continue to hit continue until you reach this screen:
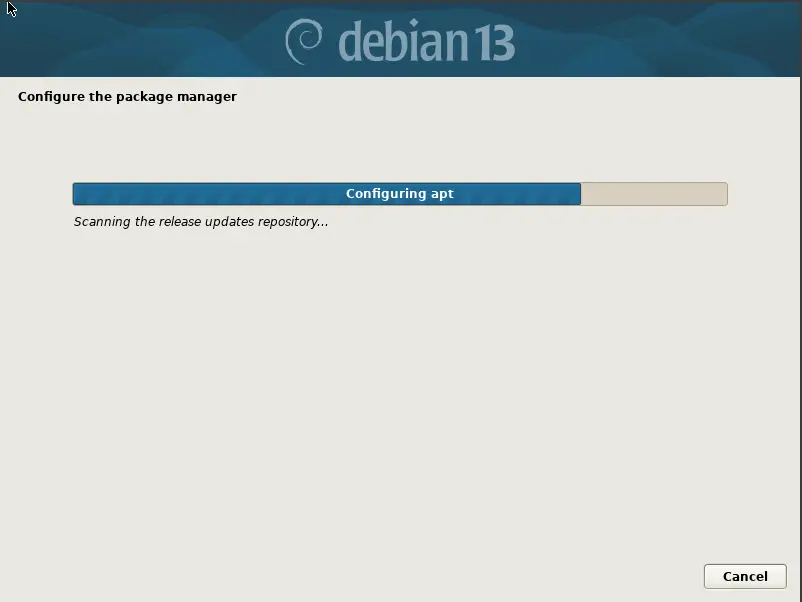
The installer is now configuring your package manager so it will take a few minutes.
Step 9: Enable telemetry
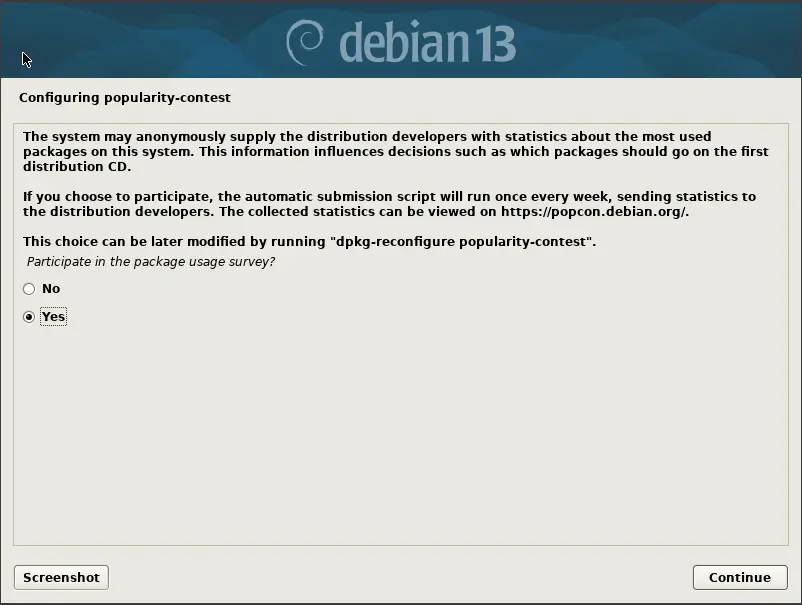
While not technically necessary, I like to enable telemetry since it allows the Debian project to prioritize work on software being actively used by the community.
Step 10: Additional software via Tasksel (important)
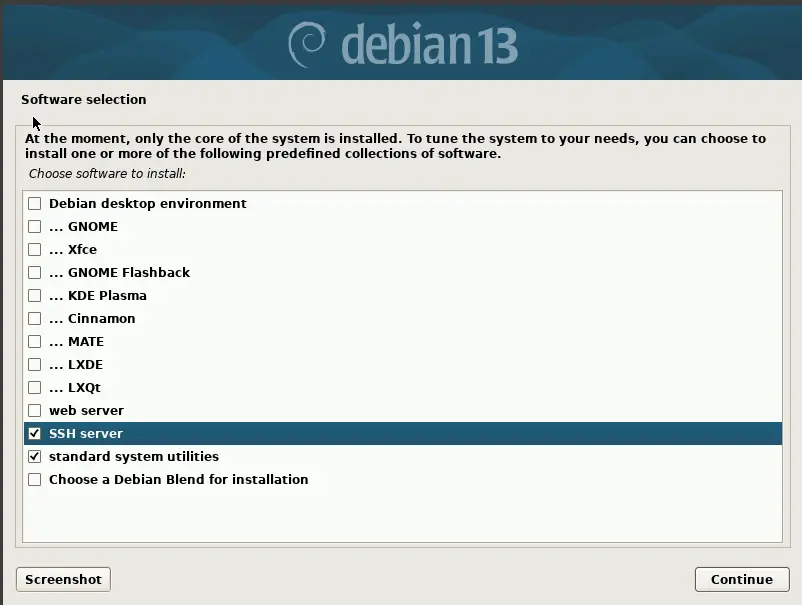
For a server, you will want to uncheck anything to do with a desktop environment and select system utilities and a SSH server. Don’t just hit continue here
You will need to wait a few minutes for the software to install
Step 11: Install the bootloader
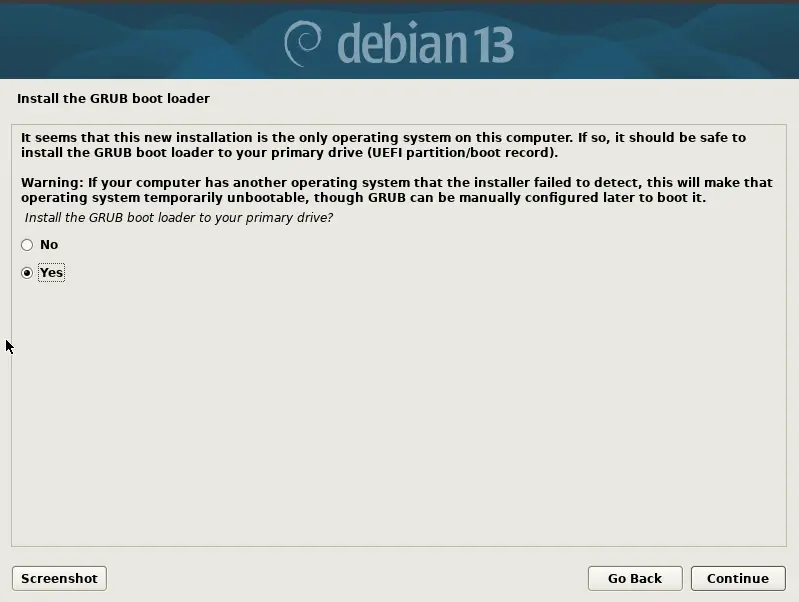
Once you get to this screen you will want to hit yes followed by the the device that you installed Debian onto. Chances are it will be something like /dev/sda or /dev/vda. If you install the bootloader to the wrong drive the system will fail to boot when the drive with the bootloader is missing. Once the bootloader is installed you can hit continue to reboot.
Step 12: Boot up the system
Once the system reboots you should see the grub bootloader screen for Debian. it will automatically boot after 5 seconds and eventually you should get to the Debian login screen.
Step 13: Setup sudo
You should now be able to login with your username and password. Once logged in you will want to switch to root with su -. (You will be prompted for the root password)
Once you are root (the prompt will start with #) run the following commands:
apt install sudo -y
usermod -aG sudo [your user]
exit
You now should be back to your normal user. However, you will need to log out and then back in for the next step.
Once you are logged back in, lock the root user with
sudo passwd -l root
The root user should now be locked.
Step 14: Setup SSH key based authentication
On your local (non Debian) system, make sure you have a SSH key. You can generate one with ssh-keygen
Once you can SSH into the Debian machine with:
ssh [your username]@[IP or hostname]
One first connect, you will be prompted to trust on first use. Type in yes and then enter your password. If you get a scary warning about host identification changing you will want to delete the relevant entries out of known_hosts.
Once you have confirmed that you can log in, run the following command on your local (non Debian) system to add your SSH key as trusted
ssh [username]@[IP or hostname] "mkdir .ssh"
cat ~\.ssh\id_ed25519.pub | ssh [username]@[IP or hostname] "cat >> .ssh/authorized_keys"
Keep in mind that » appends so if you run this more than once you will get duplicate entries
You should now be able to log in without a password.
Step 15: Disable password based authentication
Now that we setup key based SSH, there is no need for password based authentication. Password based authentication is considered insecure as it is much easier to steal a password than a key. Run the following to open up the SSH config file.
sudo nano /etc/ssh/sshd_config
Then navigate down to the line
#PasswordAuthentication yes
and change it to
PasswordAuthentication no
To save and exit , press ctrl+s followed by ctrl+x
To apply changes run
sudo systemctl restart ssh
Step 16: Last steps
The system is now installed and ready to go. I would recommend checking out the Debian wiki as it as lots of useful information about Debian. Make sure you stay on top of updates as a out of date system can present serious security issues.